A car battery may look simple, but it plays a central role in every modern vehicle. From starting the engine to powering electronics, the battery connects directly to sensitive control modules, sensors, and high current components. When replacing or reconnecting a battery, the order of connection matters more than many drivers realize. A simple mistake can create sparks, damage electronics, or even cause short circuits.
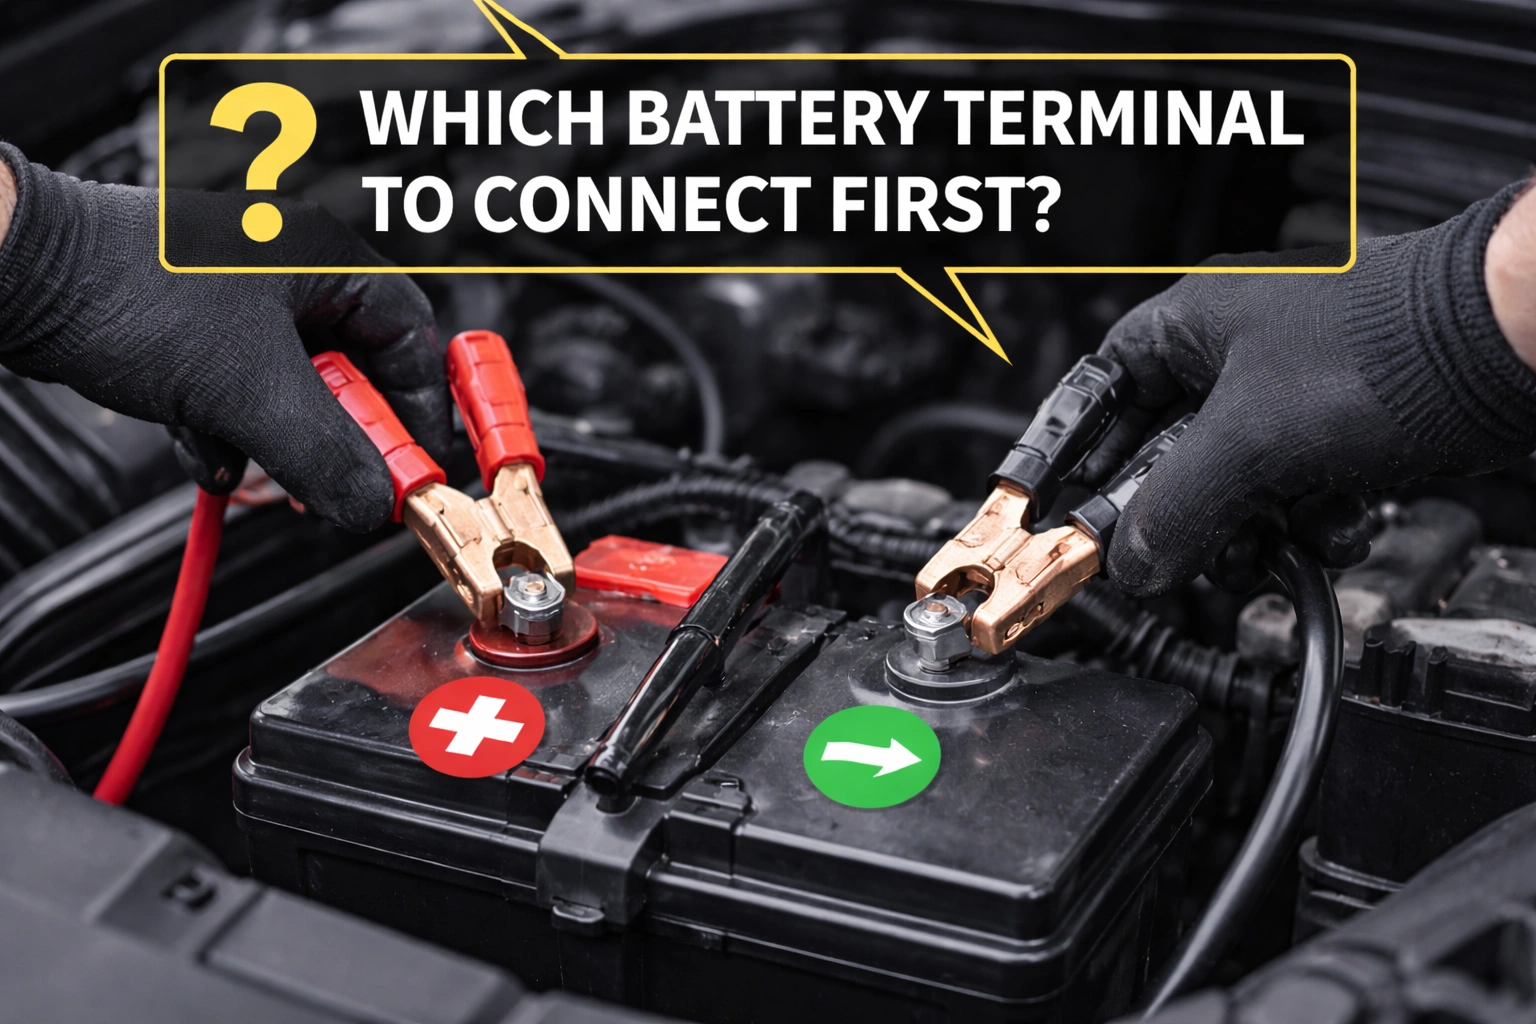
Connecting battery terminals in the correct sequence protects both the vehicle and the person performing the work. The process is not complicated, yet it requires attention and a clear understanding of how electrical grounding works. The general rule is to connect the positive terminal first and disconnect the negative terminal first. That sequence reduces the risk of accidental short circuits. A closer look at how automotive electrical systems operate explains why this order is recommended and how to perform the task safely.
Table of Contents
Understanding Battery Terminals And Electrical Grounding
Positive And Negative Terminal Functions
Every automotive battery has two terminals: positive and negative. The positive terminal delivers electrical power to the starter motor, fuse box, and various vehicle systems. It is typically marked with a plus sign and often covered with a red protective cap.
The negative terminal connects to the vehicle’s chassis ground. This creates a complete circuit, allowing electricity to flow properly. Because the metal body and frame of the vehicle are connected to ground, touching the negative side does not create the same risk as contacting the positive terminal against bare metal.
Vehicles such as the Toyota Corolla and Ford F-150 follow the same basic electrical layout. The chassis serves as a return path for electrical current.
Recognizing the difference between these terminals prevents costly errors.
Why Grounding Affects Connection Order
The vehicle’s body acts as ground. When the negative terminal is connected, any metal part of the vehicle becomes electrically linked to the battery’s negative side.
If the negative cable is already attached and a tool accidentally touches the positive terminal while also contacting metal, a short circuit occurs. This can create sparks or damage components.
Connecting the positive terminal first avoids this scenario because the ground connection is not yet complete.
Proper grounding awareness makes the correct sequence logical and safe.
Correct Order When Reconnecting A Car Battery
Connecting The Positive Terminal First
When installing or reconnecting a battery, begin by attaching the positive cable to the positive terminal. Tighten the clamp securely, ensuring it sits firmly without movement.
Since the negative cable remains disconnected, accidental contact between a tool and the vehicle body will not complete a circuit.
This reduces the risk of sparks or sudden electrical discharge. Taking care during this step protects sensitive electronics such as engine control modules and infotainment systems.
Modern vehicles like the Honda Accord contain numerous electronic systems that can be affected by voltage spikes.
Connecting positive first ensures stability before completing the circuit.
Connecting The Negative Terminal Second
After securing the positive terminal, attach the negative cable to the negative terminal. This final step completes the circuit and restores power throughout the vehicle.
Some vehicles may spark slightly when connecting the negative terminal. This often occurs because electronic modules begin drawing small amounts of current immediately.
Ensure clamps are tight but not over tightened, as excessive force may damage battery posts.
Once both terminals are secure, start the engine to confirm proper operation.
This sequence maintains safety and minimizes electrical risk.
Correct Order When Disconnecting A Battery
Disconnecting follows the reverse process. Remove the negative terminal first. This breaks the ground connection and eliminates the risk of accidental short circuits.
After removing the negative cable, disconnect the positive terminal. At this point, no electrical connection remains between the battery and the vehicle.
This sequence prevents tools from creating unintended sparks if they contact metal while loosening the positive clamp.
Following the correct removal order protects both components and personal safety.
Routine maintenance becomes safer when the process is consistent.
Additional Safety Tips During Battery Work
Always wear protective gloves and safety glasses when handling batteries. Corrosion around terminals can irritate skin or eyes.
Inspect cables for corrosion or frayed wiring before reconnecting. Clean terminals using a battery brush if buildup is present.
Avoid placing metal tools across both terminals simultaneously.
If replacing the battery, ensure the new unit matches the original specifications for voltage and capacity.
In vehicles such as the Chevrolet Silverado 1500, larger batteries may require careful lifting due to weight.
Maintaining proper technique reduces the risk of injury and damage.
Connecting the battery terminals in the correct order protects the vehicle’s electrical system and reduces the chance of sparks or short circuits. Always connect the positive terminal first and the negative terminal last. When disconnecting, remove the negative terminal first and the positive terminal second.
This simple sequence ensures safe handling and reliable operation. Understanding how grounding works within the vehicle makes the process clear and straightforward.

- How Families in UAE Manage Changing Vehicle Needs - March 4, 2026
- How Many Axles On A Car And What They Do - March 2, 2026
- Metal Shavings In Oil Causes And What It Means - March 2, 2026