The alternator is one of the hardest working components in a vehicle. It keeps the battery charged, powers electrical systems, and supports everything from headlights to engine management sensors. When it fails, symptoms appear quickly. Dim lights, warning indicators on the dashboard, strange electrical behavior, or a vehicle that stalls unexpectedly can all point toward charging system trouble.
Once the alternator is confirmed as the issue, the next question usually involves time. How long does it take to replace an alternator? The answer depends on several factors, including vehicle design, engine layout, accessibility, and technician experience. Some alternators are mounted in open spaces that allow quick removal. Others are buried under intake components or near tight frame rails that demand more labor.
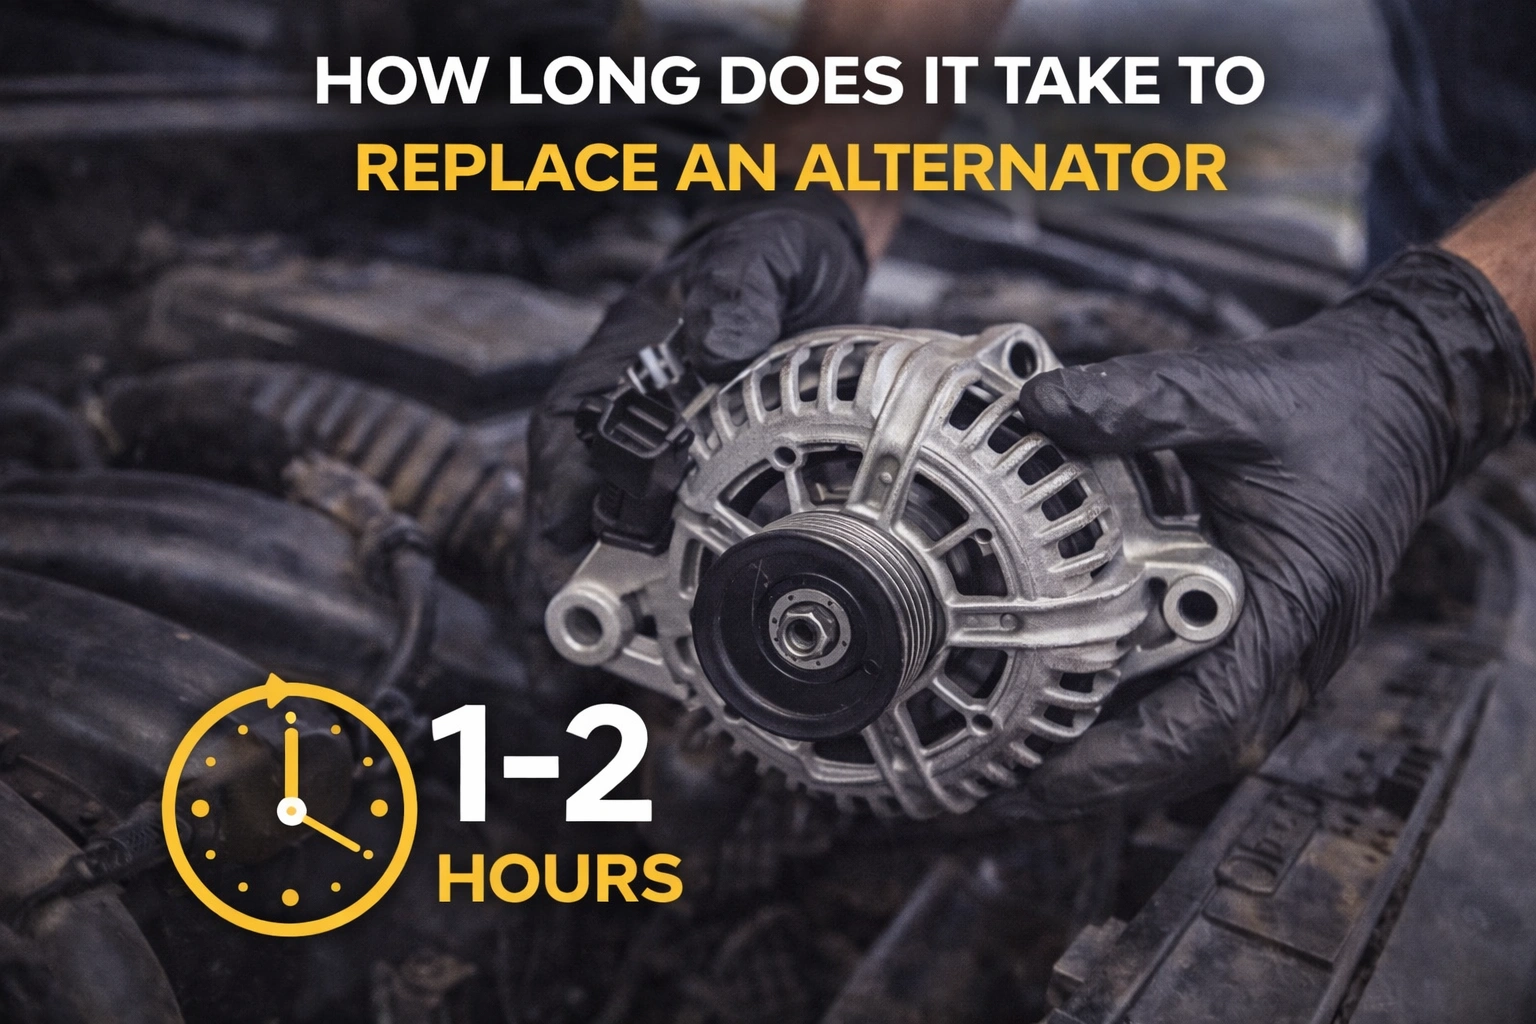
Time estimates vary from less than an hour to several hours. A closer look at vehicle design and repair process explains why.
Table of Contents
Average Replacement Time And What Influences Labor Duration
Simple Engine Layouts With Easy Access
In many older sedans and compact vehicles, the alternator sits near the top or front of the engine. It is often visible once the hood is opened. In these cases, removal typically involves disconnecting the battery, loosening the serpentine belt, removing mounting bolts, and disconnecting wiring harnesses.
For these layouts, experienced technicians can complete replacement in roughly one to two hours. Access to bolts is straightforward, and minimal disassembly is required.
Even do-it-yourself mechanics with moderate experience may finish the job within a few hours, provided they have proper tools and belt tensioner access.
Tightly Packaged Modern Engine Bays
Modern vehicles often have compact engine compartments to improve aerodynamics and crash structure. As a result, alternators may be mounted low in the engine bay or partially obstructed by intake components, coolant lines, or engine mounts.
In some front-wheel drive vehicles, alternator replacement may require lifting the vehicle and accessing it from underneath. Certain models require removal of additional parts such as splash shields or even motor mounts to create clearance.
When access is restricted, labor time increases. In these situations, replacement can take three to five hours depending on complexity.
Overview Of The Replacement Process
Battery Disconnection And Safety Preparation
Before beginning any alternator work, the battery must be disconnected to prevent electrical short circuits. Removing the negative terminal first reduces the risk of accidental sparks.
Safety preparation includes securing the vehicle, allowing the engine to cool, and gathering necessary tools. Alternator circuits carry high current, so proper precautions are essential.
Skipping battery disconnection can damage sensitive electronic modules and create safety hazards.
Belt Removal And Component Access
The alternator is driven by the serpentine belt. Removing the belt requires releasing tension through the belt tensioner. Specialized tools may be necessary to rotate the tensioner safely.
Once the belt is removed, mounting bolts and electrical connectors become accessible. Some vehicles require removing air intake tubing or other brackets to reach these fasteners.
Careful attention ensures connectors are not damaged during removal.
Installing The New Alternator And System Check
After removing the faulty unit, the replacement alternator is positioned and secured with mounting bolts tightened to specification. Electrical connections must be clean and secure to ensure proper charging.
The serpentine belt is then reinstalled, ensuring proper alignment across pulleys.
Once the battery is reconnected, the engine is started to confirm charging voltage output falls within normal range. Checking voltage with a multimeter verifies successful installation.
Factors That Extend Or Reduce Replacement Time
Corrosion And Stuck Fasteners
Older vehicles may present additional challenges due to corrosion. Rusted bolts can slow removal significantly. Applying penetrating lubricant and using proper torque techniques reduces the risk of breaking bolts.
If a bolt snaps, additional time is required to extract it safely.
Corrosion is more common in vehicles exposed to road salt or humid climates.
Engine Configuration And Drive System Layout
Transverse engine layouts in front-wheel drive vehicles often limit access. In contrast, longitudinal engines in rear-wheel drive vehicles may provide easier alternator positioning.
Hybrid systems and vehicles with additional accessories can complicate routing of belts and wiring harnesses.
Vehicle design plays a major role in determining how quickly the job can be completed.
Cost And Labor Time Considerations
Replacement cost depends largely on labor hours and part pricing. In vehicles with straightforward access, labor charges remain moderate because time requirements are lower.
More complex vehicles require additional disassembly, increasing labor costs accordingly. Parts pricing also varies by vehicle make and whether the alternator is new or remanufactured.
Repair expenses depend on the specific component involved. Basic alternator replacement typically costs less than repairing wiring harness damage or replacing additional charging system parts. Early replacement prevents further electrical damage and protects the battery from repeated discharge cycles.
Professional Versus DIY Replacement Time
When A Skilled Technician Works Faster
Professional technicians often complete alternator replacement more efficiently due to experience and specialized tools. Familiarity with specific vehicle models allows them to anticipate clearance challenges.
Shops also have lift equipment that improves access, particularly for low-mounted alternators.
Although labor fees apply, professional replacement reduces risk of installation errors.
Considerations For Home Mechanics
For individuals comfortable with mechanical repairs, alternator replacement is manageable on certain vehicles. However, time may extend beyond professional estimates due to learning curve and limited workspace.
Access to proper tools, such as serpentine belt tools and torque wrenches, improves efficiency.
Researching vehicle-specific procedures before starting prevents unexpected delays.
Preventing Premature Alternator Failure
Regular inspection of the charging system extends alternator lifespan. Ensuring the serpentine belt remains in good condition reduces strain on bearings.
Avoiding deep battery discharge cycles protects alternator diodes and internal components. Jump-starting frequently without addressing root causes places extra load on the charging system.
Monitoring charging voltage periodically helps detect early warning signs before complete failure occurs.
Bottom Line
Alternator replacement time varies widely depending on vehicle design and accessibility. In simple layouts, the job may take one to two hours. In tightly packed engine bays, three to five hours is more realistic.
Factors such as corrosion, engine configuration, and required disassembly influence labor duration. Professional technicians often complete the repair more quickly due to experience and equipment access.
Addressing alternator issues promptly prevents battery damage and electrical instability. Accurate diagnosis, careful installation, and routine charging system maintenance ensure reliable operation moving forward.

- How Families in UAE Manage Changing Vehicle Needs - March 4, 2026
- How Many Axles On A Car And What They Do - March 2, 2026
- Metal Shavings In Oil Causes And What It Means - March 2, 2026